We prepare Crispy Cream Filled Cones when we want a dessert that looks elegant yet feels homemade. Moreover, we shape each cone by hand, which gives the recipe a personal touch. At the same time, we rely on simple ingredients that most kitchens already have.
Although the process requires patience, we organize the steps clearly and work without rush. Therefore, we divide the dough carefully and form each piece with attention. Meanwhile, we cook a generous batch because this recipe yields about sixty medium cones.
In addition, we enjoy how easily this dessert fits both family gatherings and festive tables. For that reason, we often present it in different ways, depending on the occasion. Overall, we create a classic sweet that combines tradition, effort, and a beautiful final presentation.
Our Impressions of the Taste
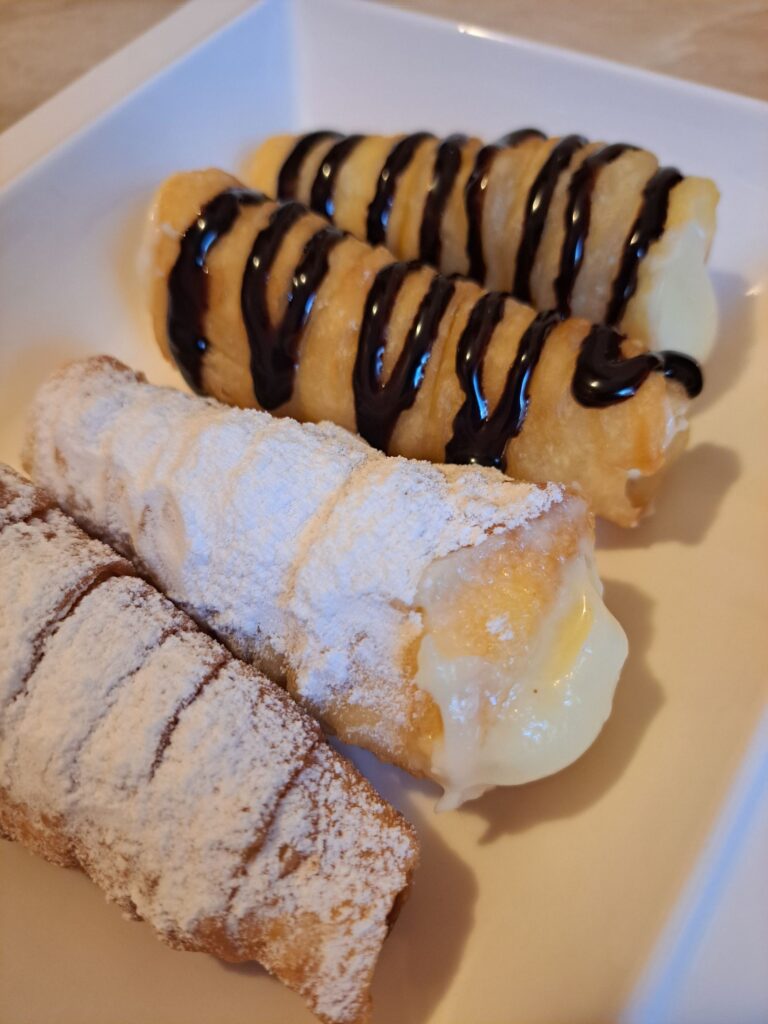
From the first bite, we notice how the crisp shell contrasts with the smooth cream. Moreover, we enjoy the balance between the light dough and the rich filling. At the same time, the texture feels structured on the outside and soft inside. Because of that contrast, each cone feels complete and satisfying without being overwhelming.
As we continue, we appreciate how the cream holds its shape while remaining silky. In addition, the gentle sweetness blends evenly throughout every bite. Therefore, we find the flavor consistent from start to finish. Overall, we experience a dessert that feels carefully prepared and pleasantly balanced.
Ingredients for Crispy Cream Filled Cones
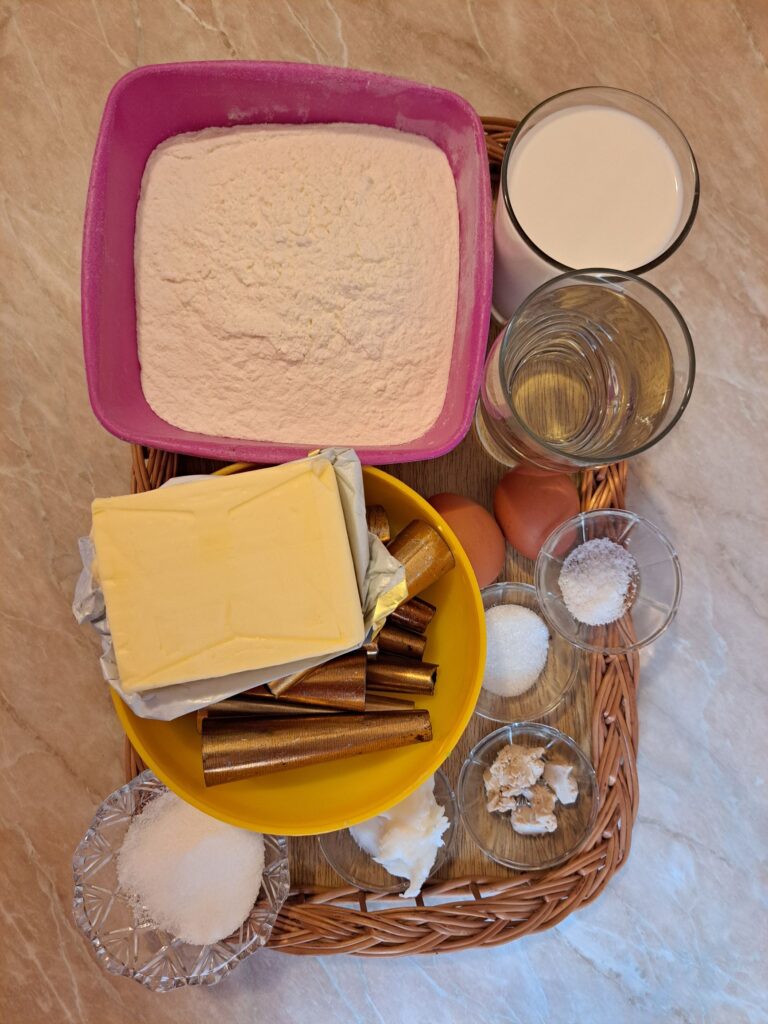
To prepare 60 cones, we use the following ingredients:
For the dough:
- Flour 1 kg
- Milk 250 ml
- Water 250 ml
- Fresh yeast 5 g
- Sugar 1 tablespoon
- Salt a pinch
- Lard 1 tablespoon
- Eggs 2
- Cooking oil 500 ml for frying
For the cream:
- Milk 2.4 l
- Sugar 30 tablespoons
- Flour 22 tablespoons
- Vanilla sugar 6 sachets
- Butter 500 g
You can adjust the quantities according to your needs and the number of cones you plan to prepare.
How to Prepare Crispy Cream Filled Cones
We start by making the dough. First, we combine flour, milk, water, yeast, sugar, salt, lard, and eggs in a large bowl. Then, we knead everything until the dough becomes smooth and slightly soft. Next, we divide it into ten equal pieces. Each piece is rolled out to about 2 mm thickness. After that, we cut the dough into 2 cm wide strips. We carefully wrap each strip around a metal cone mold, starting from the narrow end. Meanwhile, we heat the cooking oil over medium heat and fry each cone until golden brown. Once cooked, we remove them and gently take off the molds.

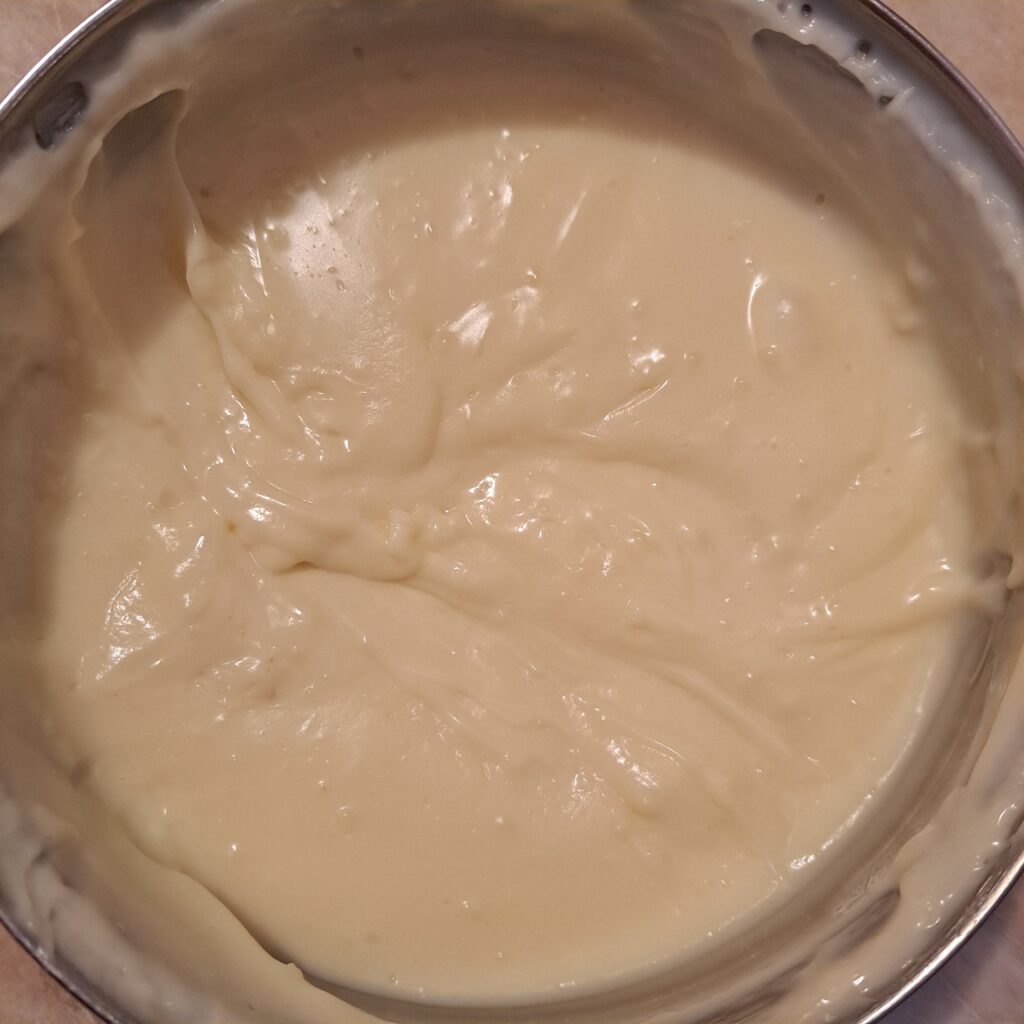
For the cream, we bring 2 liters of milk to a gentle boil. On the side, we mix the remaining milk with sugar, flour, and vanilla. Then, we stir this mixture into the hot milk and cook for ten minutes until it thickens. Finally, we blend in butter until smooth and creamy. Each cone is filled generously with the cream.
Our Preparation Tips
- To achieve even shaping, roll the dough to equal thickness before cutting the strips.
- For easier wrapping, keep the strips lightly floured so they do not stick.
- During frying, maintain medium heat to ensure steady browning without sudden color changes.
- After frying, let the cones cool completely before filling them with cream.
- When preparing the cream, stir constantly to keep the texture smooth and uniform.
- For cleaner presentation, use a piping bag to fill each cone neatly and evenly.
Serving Crispy Cream Filled Cones
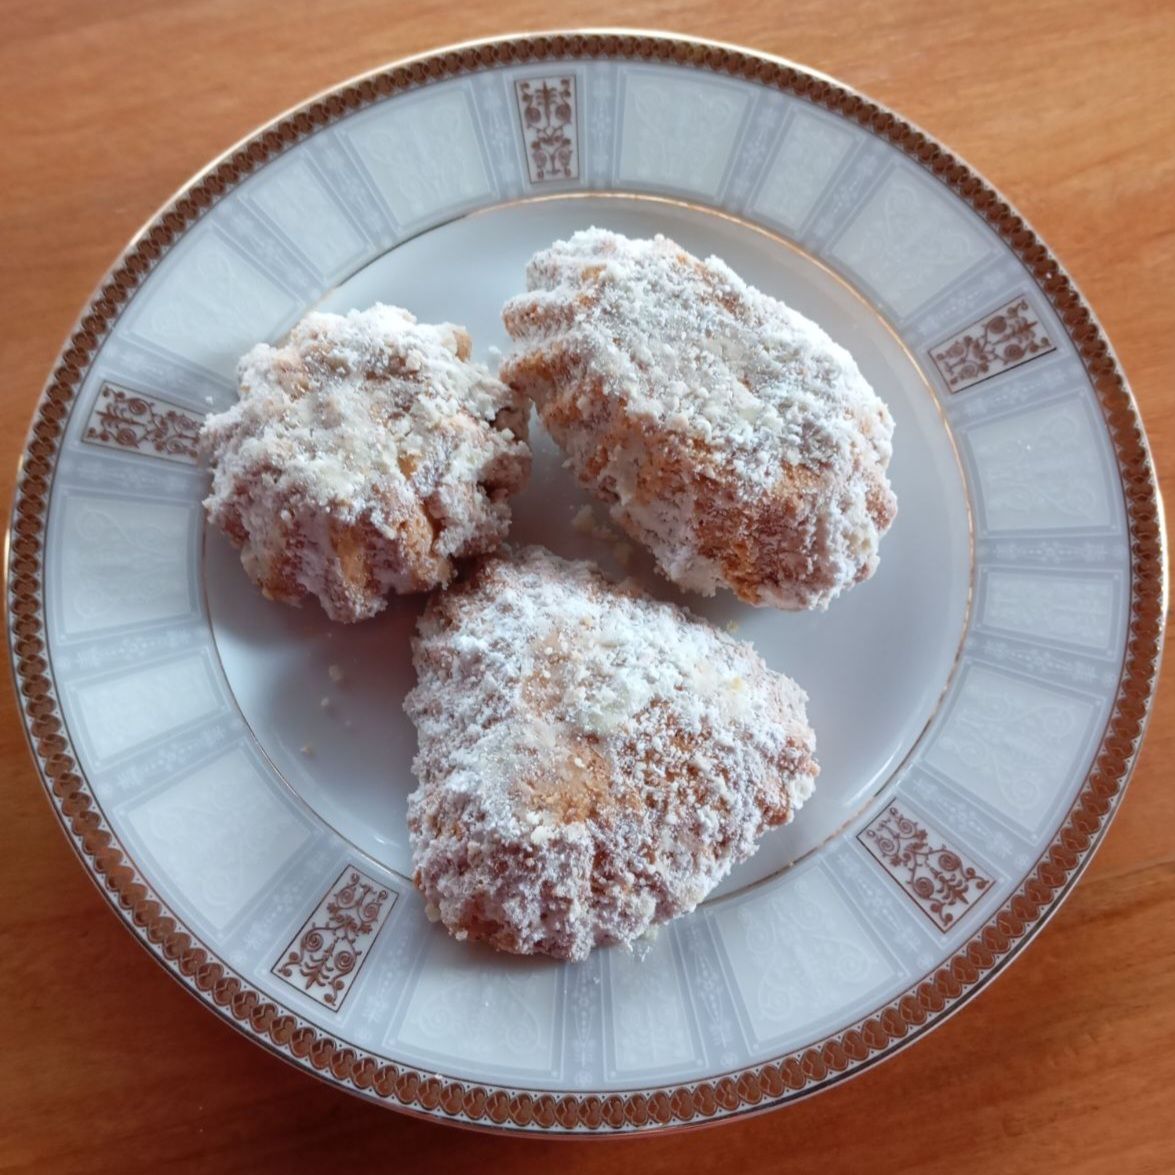
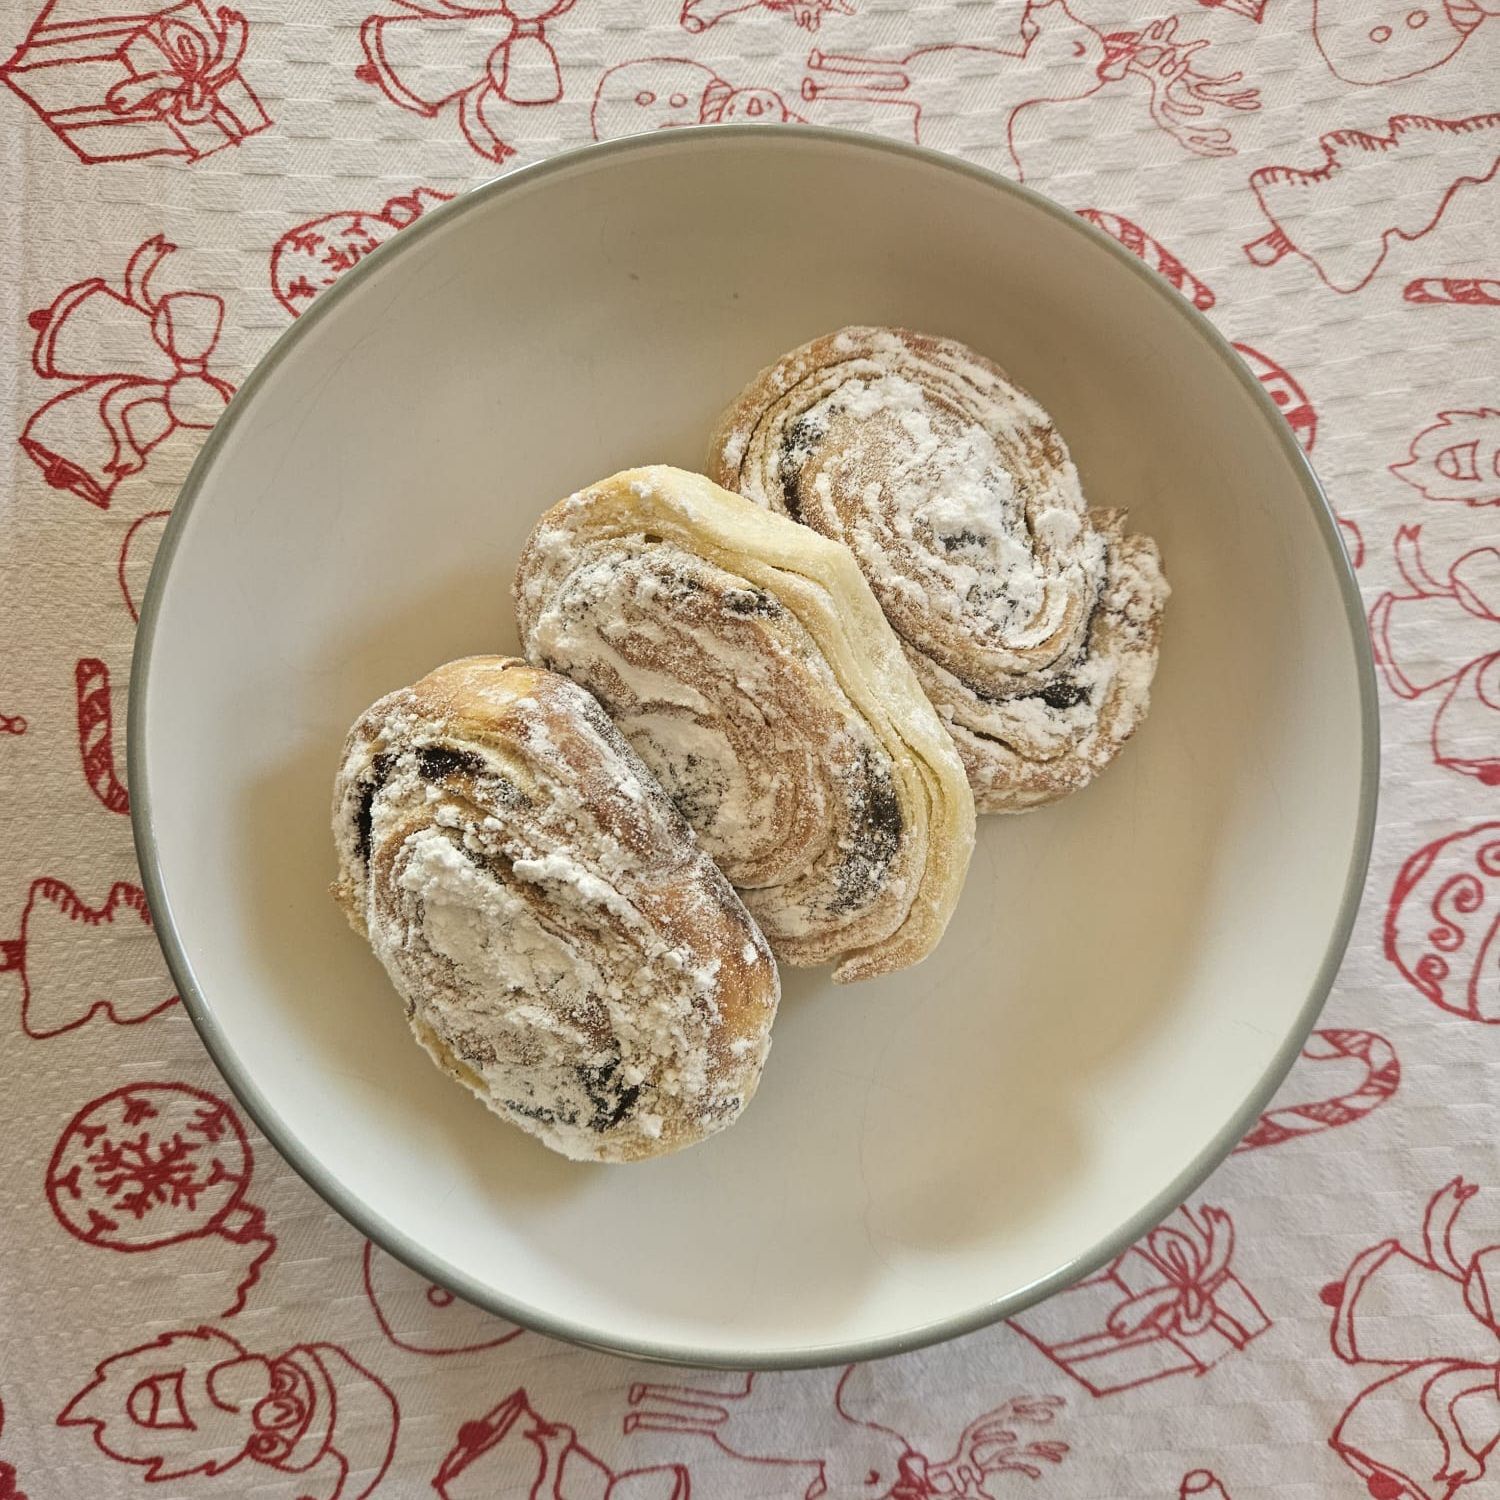
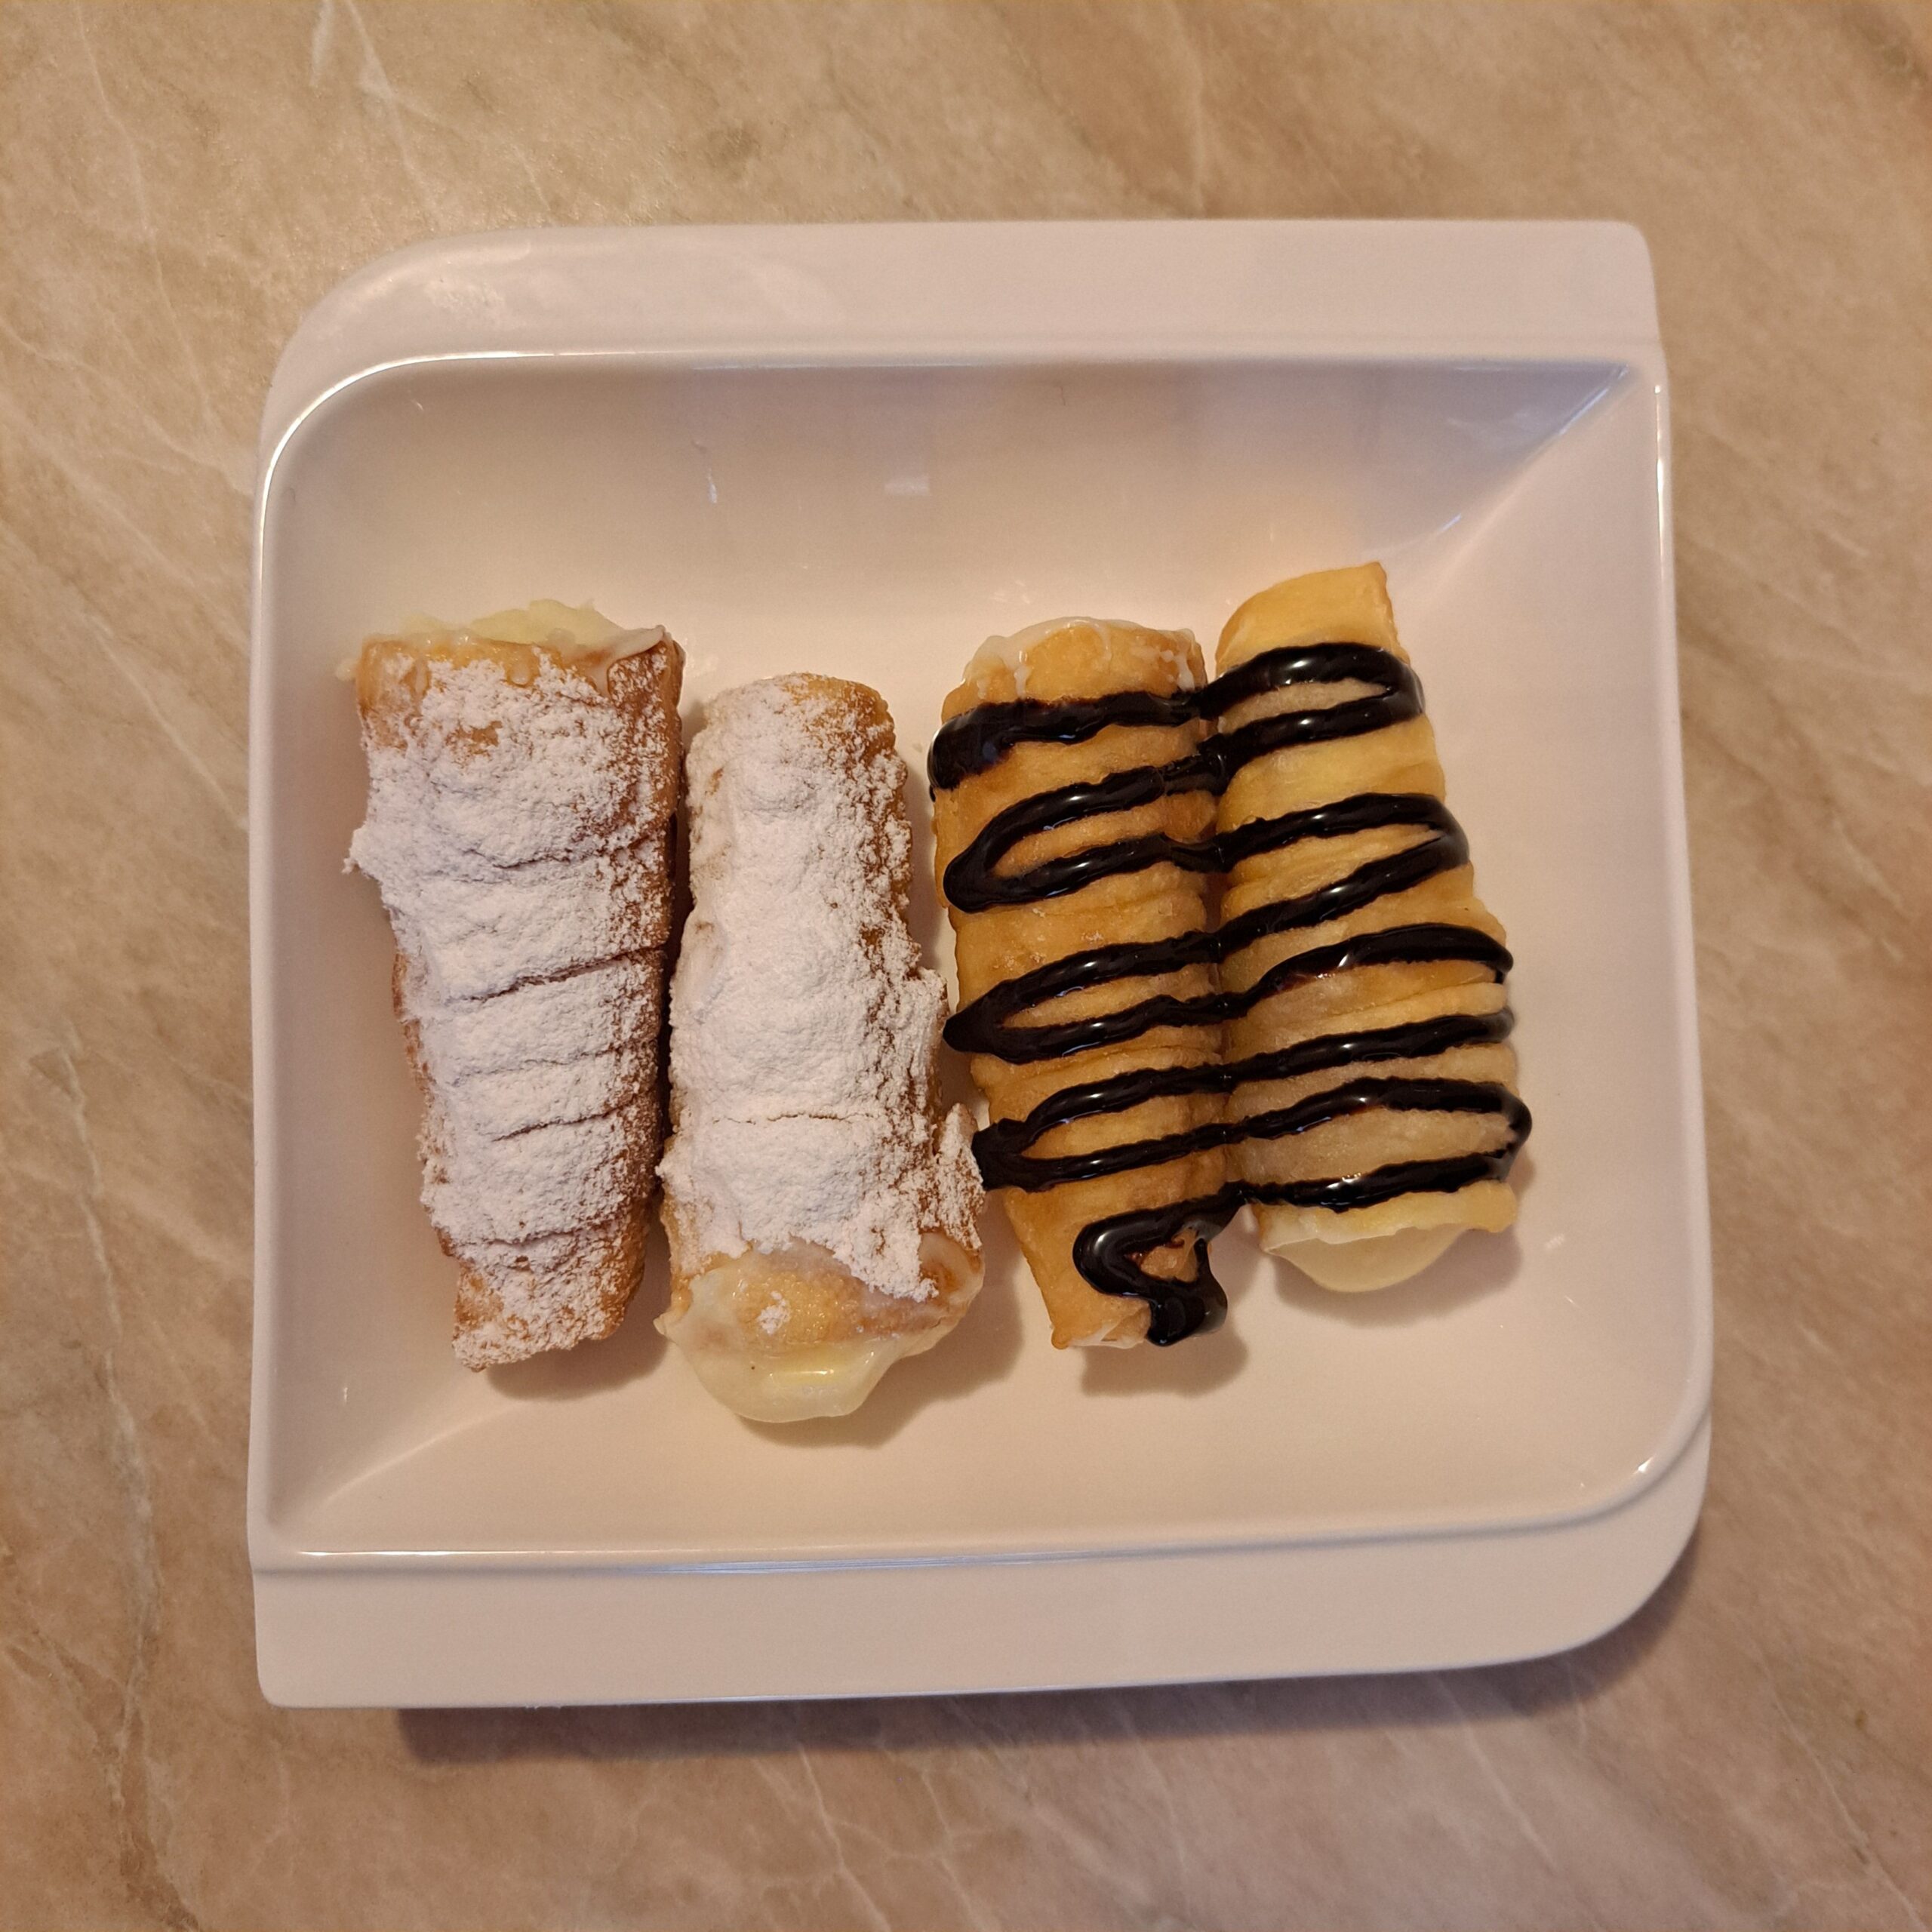
When we serve Crispy Cream Filled Cones, we focus on clean and simple presentation. For this occasion, we placed four cones on one plate for a balanced look. Then, we dusted two cones lightly with powdered sugar to create contrast. Meanwhile, we topped the other two with a smooth chocolate drizzle for visual variety. As a result, the plate looked elegant yet inviting. In addition, we arranged them with enough space between each piece for a neat finish. Therefore, the final presentation felt organized and carefully styled. Overall, we created a dessert display that looks attractive and thoughtfully prepared.

Possible Variations to Try
If you want a different touch, you can flavor the cream with lemon zest or orange zest. In addition, you can replace vanilla with cocoa powder for a chocolate version.
For a lighter option, you can fill the cones with whipped cream instead of cooked cream. Meanwhile, you can add chopped nuts for extra texture. Alternatively, you can dip the cone edges in melted chocolate for a decorative finish. Finally, you can experiment with different toppings to match your occasion or personal preference.
FAQ: Crispy Cream Filled Cones
Q: How do I keep the cones evenly shaped during frying?
To keep a uniform shape, you can wrap the dough strips tightly and evenly around each mold. Additionally, you should avoid overlapping too much dough in one spot.
Q: What can I use if I do not have metal cone molds?
If you do not have metal molds, you can shape the cones carefully by hand and seal the edge firmly. Alternatively, you can use heatproof stainless steel forms designed for frying.
Q: How can I make the filling smoother?
For a smoother texture, you can stir continuously while cooking the cream. Moreover, you should add the butter while the mixture is still warm for easier blending.
Q: How can I create a more decorative presentation?
To enhance presentation, you can use a piping bag for neat filling. In addition, you may add powdered sugar, chocolate drizzle, or finely chopped nuts on top.
Final Thoughts on Crispy Cream Filled Cones
As we finish this recipe, we feel proud of the result we created from simple ingredients. Throughout the process, we shaped each cone with care and attention. Because we followed clear steps, we achieved a structured and elegant dessert. At the same time, we prepared a generous batch suitable for sharing.
Whenever we want a homemade dessert that looks elegant, we choose this recipe again. In addition, we adapt the presentation depending on the occasion or table setting. Therefore, this dessert remains one of our reliable sweet choices. For more creative dessert ideas, we invite you to explore our Sweet Inspirations page.